Sessions
To start or follow a 3Di Live session, open your browser and go to https://3di.live and log in with your username and password. If you do not have a 3Di account yet, or do not know your username and password, please contact the Service desk.
After logging in to 3Di Live , the Welcome screen will be shown. In this screen, there are two possibilities:
Start a new session using the Starting a new session tab.
Follow an ongoing session via the Following a session tab.
Starting a new session
Click New session.
If you have simulation rights for multiple organisations, use the Billing goes to dropdown menu to select the
Select the model you want to use to start a simulation with. You may type the model name in the search bar to find it.
A new session will be started. During the start up of the model tips for use of the site will be shown. It may take some time to load the model. Actual loading time dependens on the model size; for large models, this may take several minutes.
Note
The number of sessions that can run simultaneously by your organisation depends on your organisation’s 3Di subscription. If this limit is reached, the message “Your organisation is already running X sessions” will be shown.
If you organisation has a limited number of simulation hours in its subscription, the time that the session is active is subtracted from the available number of hours for the current year.
When paused and inactive for too long, the session will close and say: ‘This simulations is no longer active. You may start a new simulation.’
Following a session
Active sessions of your organisation can be followed. This may be a session that you started earlier (e.g. from the 3Di Modeller Interface), or a session that someone else in your organisation has started.
In the Follow session tab, Select an active session and click Follow. The number of followers of a session is unlimited. To leave the session, either close your browser tab, or click the User icon (top right) > Leave session.
User menu
You can access the User menu by click the user icon at the top right of the screen. The user menu has the following options:
Preferences
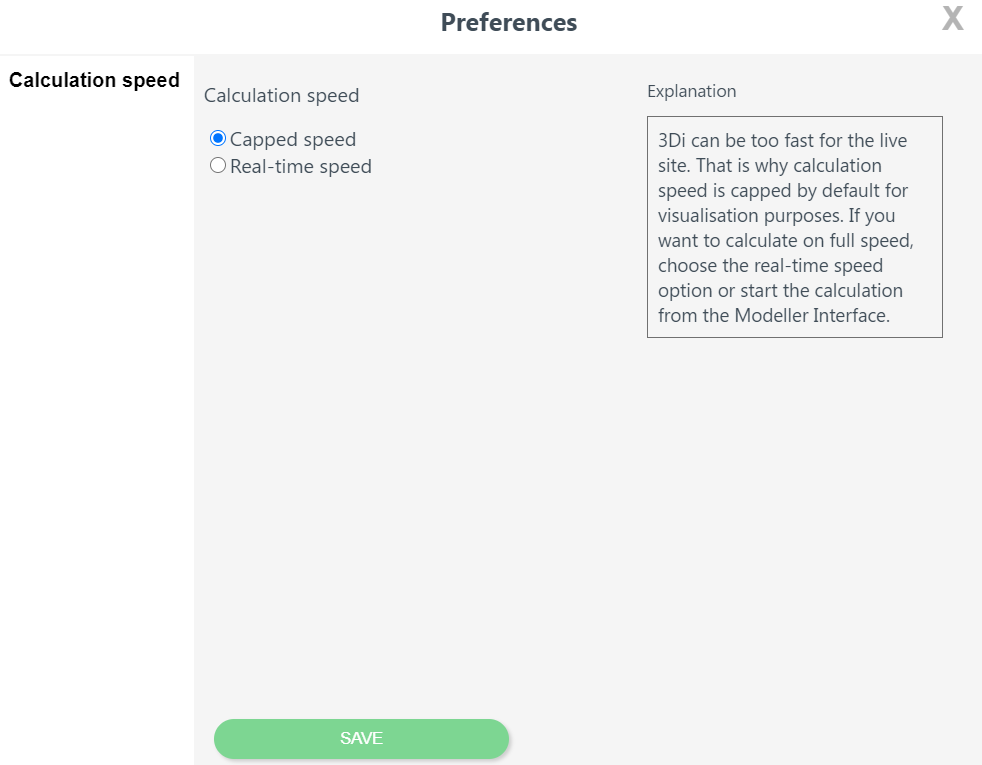
Calculation speed The Calculation speed is the rate at which the calculations are shown on screen. The Calculation speed is slowed down (capped speed) by default. This is done because 3Di Live is meant to give a live insights in what is happening. If the model is too fast, it can be hard to understand the flows.
If you want to calculate on full speed, choose the Real-time speed option. The model most likely will speed up in case the % on the top right of the screen was not indicating 100% already. In case the server load is at 100%, no gain will be seen in calculation speed on 3Di Live.
Restarting sessions
Restarting the simulation resets all the calculations that have been made and reloads the simulation. If you want to save your results you will get sent back to the start screen afterwards.
Quitting the session
In the User menu you can select quitting the simulation, this ends the use of calculation time. If this option is not used the session remains active. One of the following scenario’s might apply:
time out after being inactive is set to 30 minute for a running simulation
time out after being inactive is set to 5 minute for a paused simulation
leaving the session via a tab will close the simulation after 30 minutes
You can:
Quit, don’t store results
Quit, store results
Storing results
Note
Raw results will always be stored for 7 days, even if you choose the option Quit, don’t store results.
Direct download
When you quit the session (User menu > Quit Simulation), you can download these files directly to your computer by choosing > Quit, Store Results > Direct download. You may also download them from the 3Di Modeller Interface.
Store in scenario archive
Note
This option is only available if your subscription includes the Scenario Archive.
Another option you have when you quit the session, is to store the results in the Scenario Archive. When you choose this option, you also have several options for automated post-processing. For an explanation of the available options, see Scenario Archive.
Storing and using simulation templates
A simulation template can be stored by clicking User menu, then clicking Quit Simulation and then Create simulation template from simulation. Set a template name and check the options you want to save:
Include events: All forcings and events you have used in the simulation, such as rain events, breaches, or raster edits.
Include initials: All initial conditions that were used in the simulation in the simulation template, including initial water levels in 1D and/or 2D domains, or Saved states.
Include settings: All Simulation settings: physical, numerical, time step, and aggregation settings.
Finally click Store results.
Now when starting the same model again, you will be directed to choose a simulation template. The template you previously created will be accessible with the name you assigned to it. If you want to run a new simulation select the simulation template at the bottom of the list.